Your Cart is Empty
Master the Light: Pro Secrets for Stunning Iris Photography

Mastering Light: The Key to Extraordinary Iris Photos
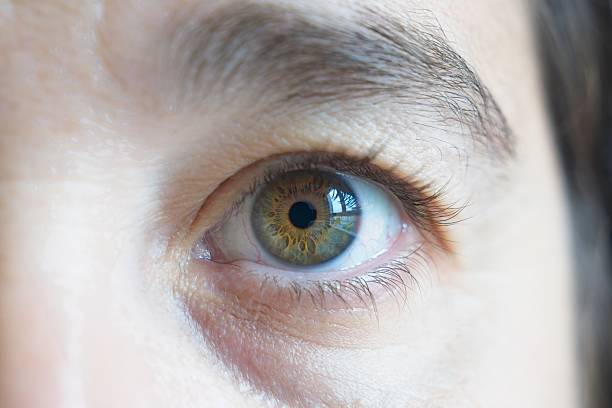
Light is your paintbrush in iris photography. Master it, and you'll transform ordinary eye photos into mesmerizing works of art.
Natural vs. Artificial: Making the Right Choice
Natural Light Benefits
- Softer shadows
- True color representation
- No equipment needed
- More comfortable for subjects
Artificial Light Advantages
- Consistent results
- Weather independent
- Greater control
- Available anytime
The Golden Hours for Iris Photography
Morning Magic (6-9 AM)
- Soft, diffused light
- Minimal reflections
- Clear eyes, no tiredness
- Perfect color rendering
Evening Excellence (4-7 PM)
- Warm, gentle illumination
- Reduced squinting
- Enhanced iris colors
- Dramatic highlights
Revolutionary Phone Lighting Techniques
Window Light Mastery
- Position subject 45° to window
- Use white curtain as diffuser
- Avoid direct sunlight patches
- Capture reflected light from floors
Creating Studio-Quality Light
DIY Light Box Method
Materials needed:
- White paper
- Cardboard box
- LED desk lamp
- Clear plastic diffuser
Setup steps:
- Cut box sides for light entry
- Line with white paper
- Position LED at 45° angle
- Add diffuser layer
Advanced Lighting Patterns
Rembrandt Lighting for Iris
- 45° light placement
- Subtle shadow patterns
- Enhanced depth perception
- Professional results
Butterfly Lighting Effect
- Light from above
- Minimal shadows
- Maximum detail capture
- Enhanced color saturation
Phone-Specific Lighting Hacks
Using Phone Features
- HDR mode benefits
- Focus lock tricks
- Exposure compensation
- White balance control
Common Mistakes
- Direct flash use
- Harsh overhead lighting
- Inconsistent light sources
- Wrong distance placement
The Iris Blink Method™
Our Signature Technique
- Double diffusion system
- Cross-polarization effect
- Color enhancement filter
- Shadow recovery process
Problem-Solving Guide
Dark Eyes Solution
- Increase light intensity
- Use reflector cards
- Multiple light sources
- HDR bracketing
Light Eyes Technique
- Reduce light intensity
- Soften light source
- Control reflections
- Color balance adjustment
Advanced Tips for Stunning Results
Color Temperature Control
- Morning: 5500K
- Midday: 6500K
- Evening: 4000K
- Artificial: 5000K
Multi-Light Setup
- Main light positioning
- Fill light placement
- Accent light effects
- Background illumination
Real-World Applications
Environmental Challenges
- Mixed lighting solutions
- Weather adaptations
- Space limitations
- Time constraints
Professional Shortcuts
- Quick setup methods
- Portable solutions
- Emergency fixes
- Time-saving techniques
Creating Mood Through Light
Dramatic Effects
- Side lighting drama
- Rim light highlights
- Pattern projections
- Shadow play
Soft Portrait Style
- Wrap-around light
- Gentle gradients
- Minimal contrast
- Natural feel
Future of Iris Photography Lighting
Emerging Technologies
- AI light adjustment
- Computational lighting
- Smart diffusion
- Automatic correction
Your Next Steps
Practice Exercises
- Window light mastery
- Diffusion experiments
- Angle variations
- Light intensity tests
Equipment Checklist
- Phone with manual controls
- Basic diffusion materials
- Reflective surfaces
- Light positioning tools
Transform Your Skills
Perfect lighting transforms good iris photos into masterpieces. Start with these techniques and watch your results improve dramatically.
Ready to capture stunning iris photos? Let Iris Blink guide you through the journey of creating beautiful, professional-quality images with just your phone.
Leave a comment
Comments will be approved before showing up.


