카트가 비어 있습니다
DIY Eye Photography: Your Journey from Amateur to Artist

A Photographer's Discovery
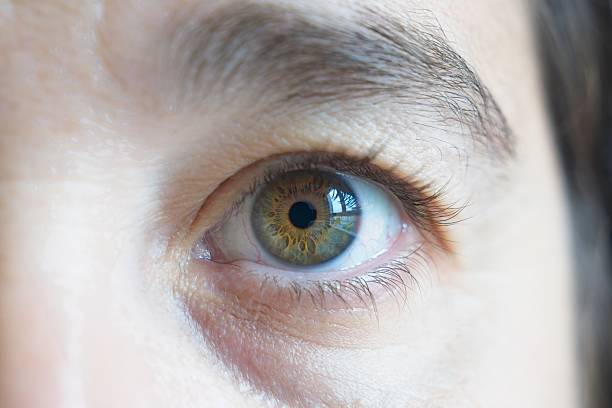
When Emma first attempted to photograph her daughter's striking green eyes using her phone, the results were disappointing – blurry, poorly lit, and nowhere near the stunning images she'd imagined. Three months later, her eye photographs are hanging in a local art gallery. This is a story about transformation, creativity, and the art of making something extraordinary with what you already have.
The Kitchen Table Studio
"My breakthrough happened at my kitchen table," Emma recalls. "I was about to buy an expensive macro lens when I discovered something amazing – a single drop of water on my phone's camera could create stunning macro effects." This discovery began her journey into the world of DIY eye photography, and today, we're sharing these secrets with you.
The Water Drop Revolution
The technique is deceptively simple: a tiny drop of water placed on your phone's camera lens can transform it into a macro lens. But mastery lies in the details:
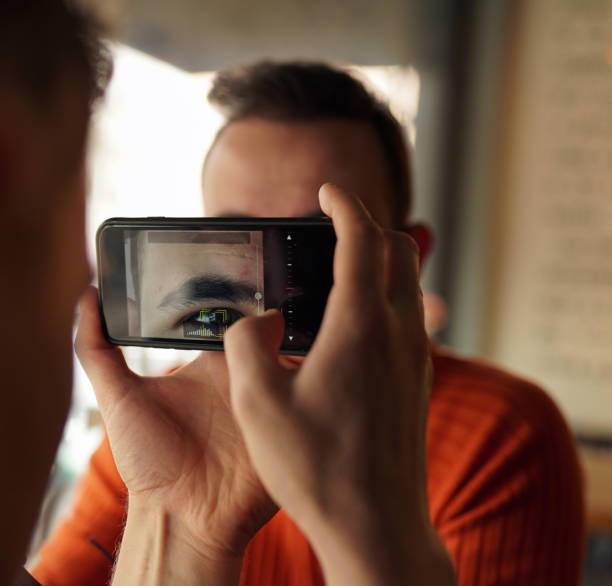
The Perfect Drop Method: "Hold your phone horizontally," Emma explains. "Use a clean eyedropper to place a small drop of filtered water directly on your camera lens. The water's surface tension creates a natural lens effect. It takes practice, but once you get it right, the results are incredible."
Everyday Items, Extraordinary Results
Your home is already filled with tools for professional-quality eye photography. Let's explore this hidden studio:
James Chen, a professional photographer turned DIY enthusiast, shares his home setup: "I use a desk lamp with a paper towel diffuser, a black cardboard background, and my phone with the water drop technique. Total cost? Less than $10. Results? Priceless."
The DIY Lighting Studio
Sarah Martinez discovered that her best photos came from an unlikely source – her bathroom. "The combination of natural light from the frosted window and white tiles creating soft reflections was perfect," she explains. "Now I recreate this setup anywhere using white paper and indirect window light."
Stabilization Secrets
Hand tremors can ruin a perfect shot. Thomas Wright, a retired engineer, developed an ingenious solution: "I built a phone stand using rubber bands and clothespins. It holds my phone perfectly still and allows precise adjustments. The stability transformed my photography."
The Art of Patient Practice
Lisa Wong spent weeks perfecting her technique. "Each morning, I'd try five new photos. Some days were frustrating, but each attempt taught me something new. The key is patience and persistence. Now I can capture stunning eye photos in minutes."
Creating the Perfect Environment
The environment affects both photographer and subject. Mary Johnson, a home studio pioneer, shares her wisdom: "I discovered that comfort creates better photos. A relaxed subject means clearer eyes and steadier poses. I make the space cozy with soft music and comfortable seating."
Common Challenges and Creative Solutions
When Kevin faced the challenge of photographing dark brown eyes, he innovated: "I found that positioning a small white card at an angle near the eye created beautiful catchlights that revealed hidden details in dark irises."
The Post-Processing Revolution
Your phone's built-in editing tools are more powerful than you might think. Rachel Turner explains: "I spent months trying different apps before realizing my phone's basic editing tools were all I needed. It's about subtle enhancements, not dramatic changes."
Building Your DIY Kit
Start with these essentials: "Your journey begins with items you probably have at home," explains David Park, a DIY photography instructor. "Clean water, good lighting, and steady hands are your foundation. Everything else is creativity and practice."
The Journey to Mastery
Each photographer's journey is unique. Alexandra Perez shares her evolution: "My first attempts were disasters. But each failure taught me something new. Now I understand how light interacts with the eye, how tiny movements affect focus, and how patience leads to perfection."
Creating Your Signature Style
Michael Zhang discovered his unique approach by accident: "I was frustrated trying to copy professional styles. When I stopped trying to replicate others and started experimenting, I found my own voice. Now my photos are instantly recognizable."
From Hobby to Art
Jennifer Blake never intended to become an artist: "I started photographing eyes because I found them fascinating. Now my work sells in local galleries. The key was developing my own techniques rather than following traditional rules."
The Future of DIY Eye Photography
As phone cameras continue to evolve, so do the possibilities for DIY photographers. Emma, our original kitchen table photographer, offers this perspective: "Technology is just a tool. The real magic comes from understanding light, practicing patience, and seeing beauty in the details."
Your Journey Begins
Every great photographer started as a beginner. Your phone, some everyday items, and patience are all you need to begin creating extraordinary eye photographs. With these DIY techniques, you're ready to start your own journey from amateur to artist.
Ready to begin your eye photography journey? Let Iris Blink help you transform your DIY photos into lasting art. Start creating today.
의견을 남겨주세요
의견은 나타나기 전에 승인됩니다.


