Sepetiniz boş
The Complete Guide to Eye Photography: From Smartphone to Professional Results

Eye photography, also known as iris photography or ocular photography, has become increasingly popular for both artistic and medical purposes. This comprehensive guide will walk you through everything you need to know about capturing stunning eye photographs, whether you're using a professional camera or your smartphone.
Table of Contents
-
Understanding the Basics of Eye Photography
-
Essential Equipment and Camera Settings
-
Lighting Techniques for Eye Photography
-
Composition and Framing Guidelines
-
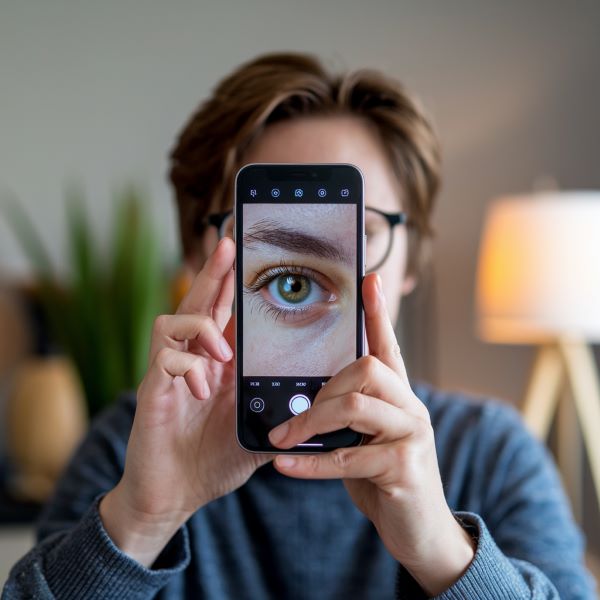
Smartphone Tips for Eye Photography
-
Working with Different Eye Colors and Shapes
-
Macro Photography Techniques for Eyes
-
Focus and Depth of Field Mastery
-
Post-Processing and Editing Eye Photos
-
Common Challenges and Solutions
-
Creating Artistic Eye Portraits
-
Safety and Ethics in Eye Photography
Understanding the Basics of Eye Photography
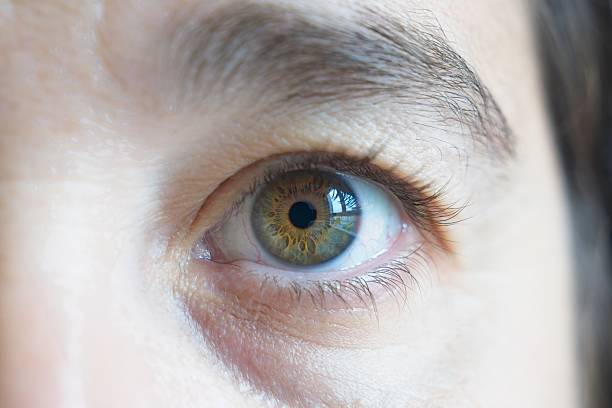
Eye photography, technically termed as iris photography, is a specialized form of macro photography that focuses on capturing the intricate details of the human eye. The cost of professional eye photography can range from $50 to $500, depending on the photographer's expertise and the purpose of the photos.
Modern technology has made eye photography more accessible than ever. While traditional studios still offer professional services, you can now capture impressive eye photos at home using your smartphone or digital camera. The rise of iris scanning technology and apps has also made it possible to document and analyze eye patterns for both medical and security purposes.
Key aspects of eye photography include:
-
Understanding eye anatomy
-
Proper lighting techniques
-
Steady hand or tripod support
-
Patient positioning
-
Focus and depth of field control
Essential Equipment and Camera Settings
For professional eye photography, you'll need:
-
Camera: A DSLR or mirrorless camera with macro capabilities
-
Lens: A macro lens (60mm to 100mm focal length)
-
Lighting: Ring light or dual-point lighting system
-
Stabilization: Tripod or stabilizing support
-
Optional: Extension tubes for increased magnification
However, modern smartphones are increasingly capable of capturing detailed eye photos. The latest iPhone and Android devices feature powerful macro modes and multiple lenses that can produce impressive results.
Recommended camera settings:
-
ISO: 100-400 for minimal noise
-
Aperture: f/8 to f/16 for adequate depth of field
-
Shutter Speed: 1/60 or faster
-
Focus Mode: Manual focus for precise control
Lighting Techniques for Eye Photography
Proper lighting is crucial for eye photography. Natural light can work well, but controlled artificial lighting often produces better results. A ring light is ideal as it provides even illumination and creates attractive catchlights.
Key lighting considerations:
-
Avoid direct flash, which can cause discomfort
-
Position lights at 45-degree angles for optimal illumination
-
Use diffused lighting to minimize reflections
-
Consider using LED panels for continuous lighting
-
Experiment with different light temperatures
For smartphone photography, try to work near a window with indirect natural light, or invest in a small LED ring light attachment.
Composition and Framing Guidelines
Creating compelling eye photographs requires careful attention to composition. The iris should typically be positioned slightly off-center following the rule of thirds. Consider these framing elements:
-
Leave space for visible eye whites
-
Include eyelashes for context and depth
-
Position catchlights at 10 or 2 o'clock
-
Maintain sharp focus on the iris details
-
Consider including eyebrows for broader portraits
Experiment with different angles and perspectives to find the most flattering view for each subject's unique eye shape and color.
Smartphone Tips for Eye Photography
Modern smartphones have become powerful tools for eye photography. Here are essential tips for smartphone users:
-
Use the macro mode if available on your device
-
Enable grid lines for better composition
-
Tap to focus on the iris
-
Use manual exposure controls if available
-
Hold your phone steady or use a small tripod
-
Clean your lens thoroughly before shooting
Most recent smartphones can capture detailed eye photos without additional equipment, though a clip-on macro lens can enhance results.
Working with Different Eye Colors and Shapes
Each eye color presents unique challenges and opportunities:
Brown Eyes:
-
Use stronger lighting to reveal subtle patterns
-
Focus on capturing depth and texture
-
Emphasize warm tones in post-processing
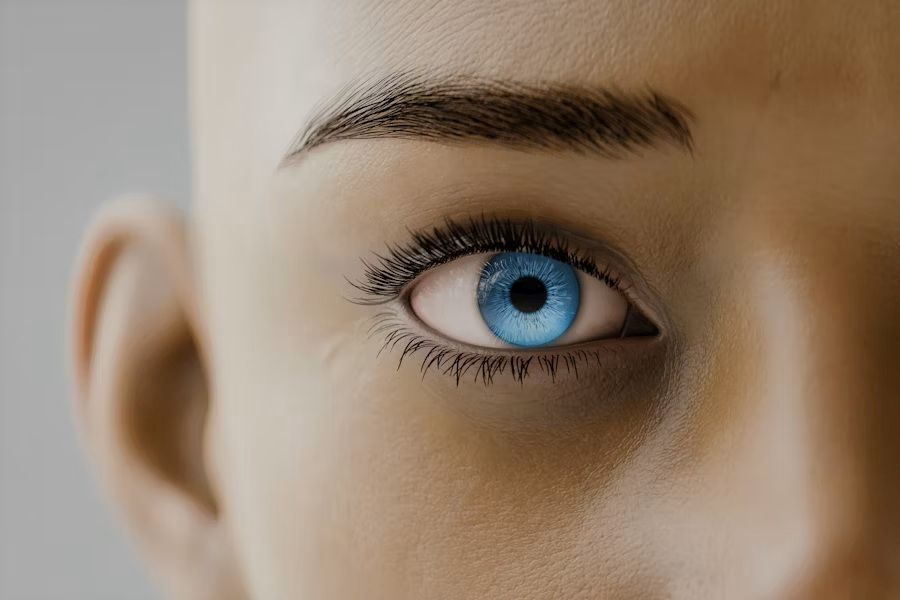
Blue Eyes:
-
Reduce lighting intensity to prevent washout
-
Capture the intricate patterns in the iris
-
Maintain natural color without oversaturation
Green/Hazel Eyes:
-
Balance between warm and cool tones
-
Highlight color variations
-
Pay attention to lighting angle to enhance color
Macro Photography Techniques for Eyes
Successful macro eye photography requires specific techniques:
-
Maintain proper distance - typically 6-12 inches from the subject
-
Use manual focus for precise control
-
Take multiple shots at slightly different focal points
-
Consider focus stacking for maximum sharpness
-
Keep both photographer and subject steady
Remember that patience is crucial when working at such close distances.
Focus and Depth of Field Mastery
Achieving sharp focus is critical in eye photography. Consider these techniques:
-
Use live view for precise manual focusing
-
Focus on the pupil/iris boundary for maximum impact
-
Choose appropriate aperture for desired depth of field
-
Consider focus stacking for maximum detail
-
Use focus peaking if available on your camera
Post-Processing and Editing Eye Photos
Post-processing can enhance your eye photographs significantly:
-
Adjust contrast to enhance iris details
-
Remove any red veins if desired
-
Fine-tune color balance
-
Sharpen selectively
-
Clean up any dust spots or imperfections
Avoid over-processing, as it can make the image look unnatural.
Safety and Ethics in Eye Photography
Eye photography is generally safe when proper precautions are taken:
-
Avoid using strong direct flash
-
Limit exposure time
-
Take regular breaks
-
Respect subject comfort
-
Obtain proper consent
-
Follow medical photography guidelines if applicable
Final Thoughts
Eye photography is a fascinating blend of technical skill and artistic vision. Whether using a professional camera or smartphone, success comes from understanding the fundamentals and practicing regularly. Remember that every eye is unique, offering endless opportunities for creative expression.
The accessibility of modern technology means anyone can explore this fascinating genre of photography. Start with your smartphone, experiment with different techniques, and gradually build your skills and equipment as needed.
Remember to prioritize subject comfort and safety while pursuing your creative vision. With practice and patience, you can capture stunning eye photographs that reveal the intricate beauty of the human eye.
Yorum bırak
Yorumlar görünmeden önce onaylanacaktır.


