Your Cart is Empty
How to Take Iris Photos from the Comfort of Your Home?

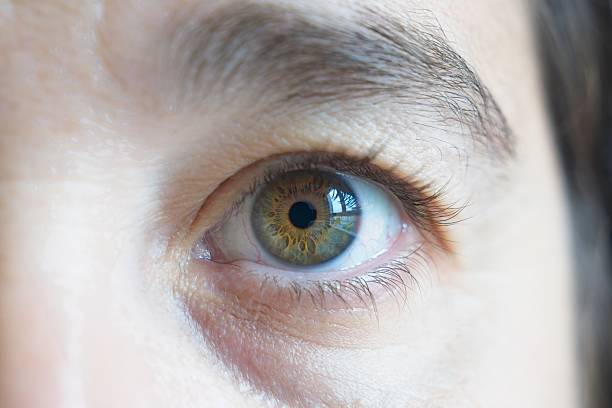
Your eyes are the windows to your soul, and your iris is a stunning natural masterpiece. If you've ever wanted to immortalize the intricate details and vibrant colors of your iris in a personalized artwork, the key lies in capturing a high-quality iris photograph. With the right techniques and equipment, you can easily snap eye-catching iris photos from the comfort of your home.
The Essentials of Iris Photography
Before diving into the specifics, let's cover the essential tools you'll need for iris photography:
1. A Smartphone with a Good Camera: Most modern smartphones have impressive camera capabilities, making them ideal for capturing detailed iris shots.
2. A Steady Hand or Tripod: Keeping the camera steady is crucial for sharp, blur-free photos.
3. Adequate Lighting: Proper lighting can make or break your iris shots, so be prepared to control and optimize the light conditions.
4. Optional Accessories: While not essential, accessories like macro lenses, ring lights, or selfie sticks can enhance your iris photography experience.
Step-by-Step Guide to Iris Photo Capture
Now that you have the tools, let's explore the step-by-step process of capturing stunning iris photos:
Step 1: Set Up Your Lighting
Good lighting is the foundation of great iris photography. Start by finding a well-lit area, such as near a window or under soft, diffused artificial light. Avoid direct sunlight or harsh overhead lighting, as these can create unwanted shadows or glare.
Alternatively, you can use your smartphone's flashlight or a ring light to illuminate your eye directly. Position the light source at an angle, slightly above and to the side of your eye, to create depth and highlight the iris's intricate details.
Step 2: Steady Your Camera
A steady camera is essential for capturing sharp, focused iris shots. If you're using a smartphone, consider investing in a small tripod or a selfie stick with a built-in grip. This will help minimize camera shake and blurriness.
If you're handholding the camera, support your elbows on a flat surface or lean against a wall for added stability. You can also try using your smartphone's built-in timer or voice commands to minimize camera movement when taking the shot.
Step 3: Focus and Compose
Once you've set up your lighting and steadied your camera, it's time to focus and compose your shot. Get close to your eye, ideally within 6-12 inches, and use your camera's zoom or macro mode to fill the frame with your iris.
To achieve sharp focus, tap the screen where you want the camera to focus (directly on your iris) and wait for the focus to lock before taking the shot. Experiment with different angles and compositions to capture your iris's unique details and colors.
Step 4: Take Multiple Shot
Don't settle for just one shot – take multiple photos to increase your chances of capturing a perfect iris shot. Small movements or blinks can easily blur your photos, so keep shooting until you've captured several clear, focused shots of your iris.
Remember to review your shots as you go and make any necessary adjustments to lighting, focus, or composition.
Step 5: Edit and Enhance
While not always necessary, editing your iris photos can help bring out their true vibrancy and detail. Most smartphones come with built-in photo editing tools, or you can use popular apps like Snapseed or Adobe Lightroom to make adjustments.
Consider tweaking the exposure, contrast, and saturation to make your iris pop. You can also crop and straighten your shots for a polished, professional look.
With these tips and techniques, you'll be well on your way to capturing stunning iris photos that can be transformed into personalized artworks, cherished keepsakes, or unique gifts. So, grab your smartphone, find the perfect lighting, and get ready to immortalize the natural beauty of your eyes!
1 Response
Leave a comment
Comments will be approved before showing up.


Daniel Souza Silva
February 01, 2025
Quero tirar foto da minha iris